By Daniel Green
This is a continuation of this article, here.
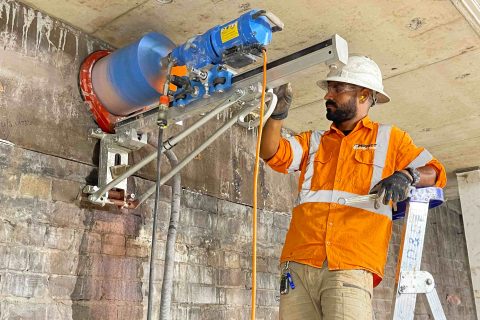
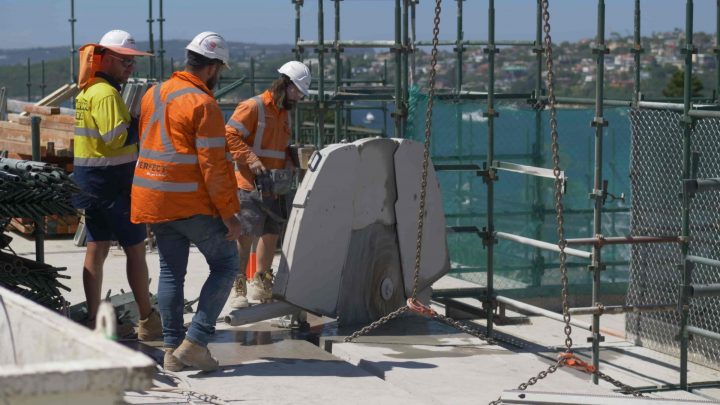
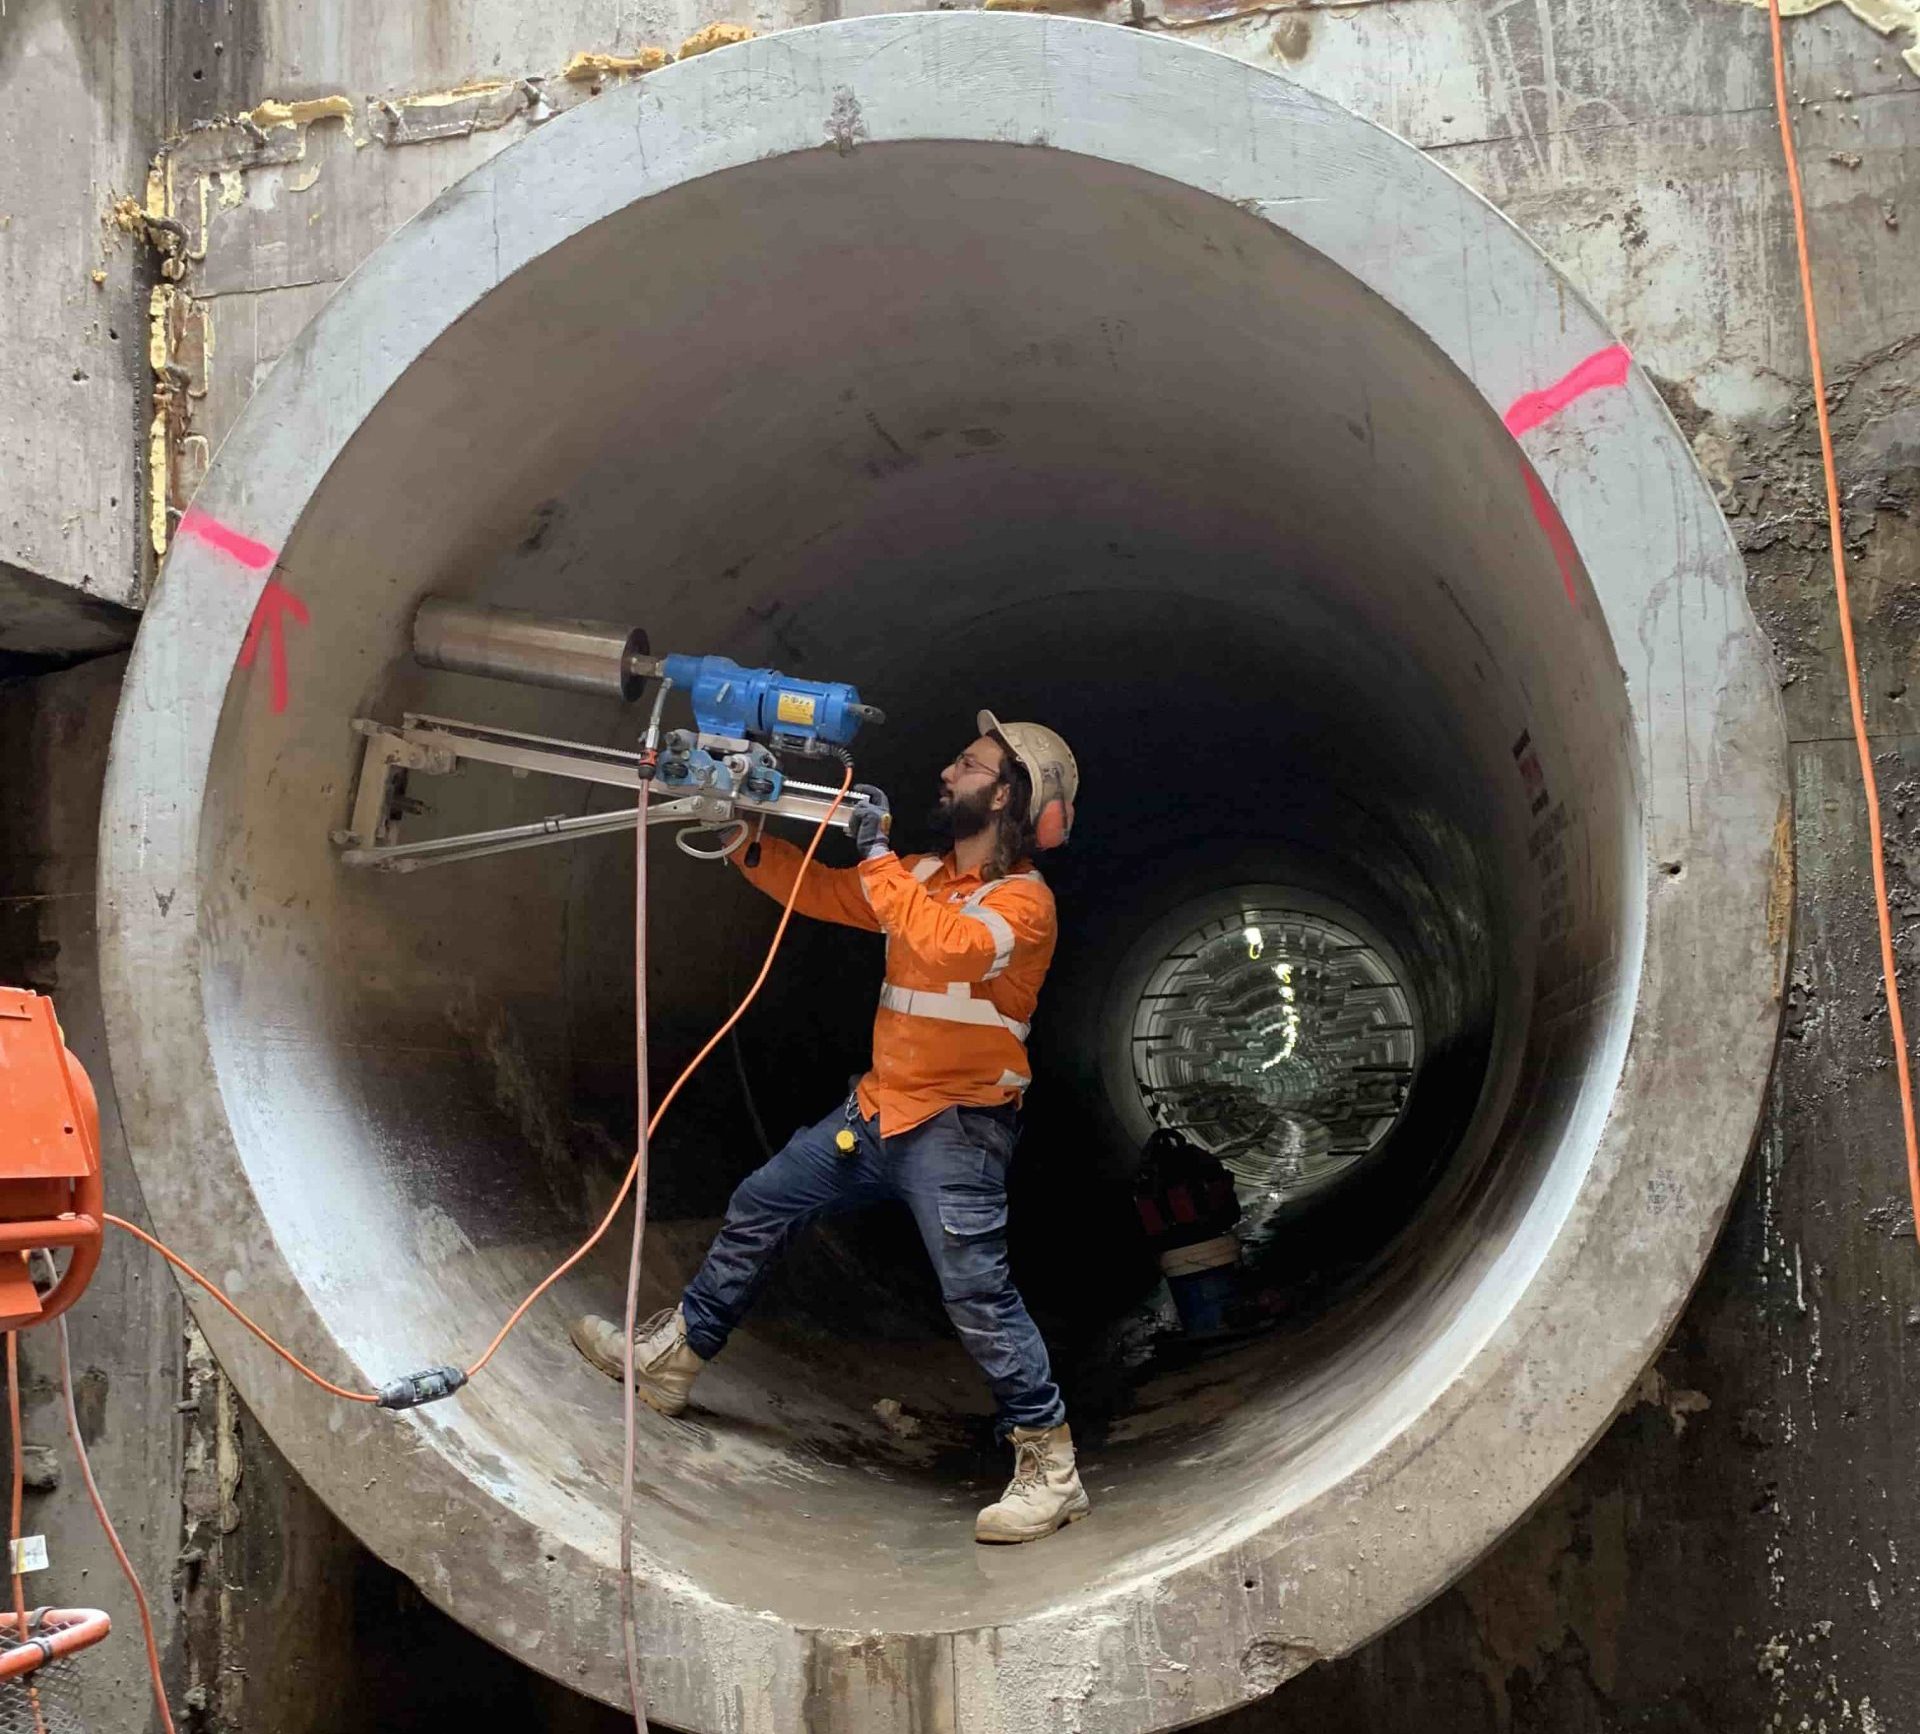
Coring With The Stand
The stand is a lightweight core drill frame that can be attached to surfaces such as walls and ceilings. When precision is required or those holes are in difficult positions, utilising the stand is best. Setup takes more time but a superior outcome is guaranteed.
Anchoring
One of the reasons for extra time is the installation of anchors to prevent drill movement. In the case of concrete, these are specialised screws known as rock anchors. In the case of brickwork they are metal tubes with an internal thread known as rawl-dowels. Rawl-dowels require special bolts. In either case these fasteners allow the stand to be firmly bolted in place.
Drilling holes in masonry is time consuming. It also weakens it, so minimising the amount of anchoring is advantageous. Try and place your anchors in such a way that each anchor can be used for multiple core holes. You can also anchor into what will eventually be waste material as this is of no consequence the structural integrity of the final design.
Locating the Stand
Once you are satisfied with the placement of your anchors, then you can attach the stand. Due to the awkward nature of hoisting and locating the stand it is advantageous to work in pairs, however if this is impossible then there is a workaround.
- Without the drill attached, lift the stand into position. With your free hand, begin threading in an anchor. Install the anchor as deep as you can by hand.
- Install a second anchor. This may need you to recalibrate yourself.
- With the anchors taking the weight of the stand, you can now begin installing the remaining anchors.
- Roughly situate the stand so that it is within ‘the ballpark’ of its intended position.
- With the correct barrel already installed, place the core drill on the stand the fasten it down. You will now be able to see how close it is to the first hole.
- Situate the barrel so that it is at its precise location for the first core hole.
- Torque down all anchors, paying attention to any movement of there barrel away from its intended location.
- Test the operation of the drill on the rail to ensure smoothness throughout the entire tracking cycle.
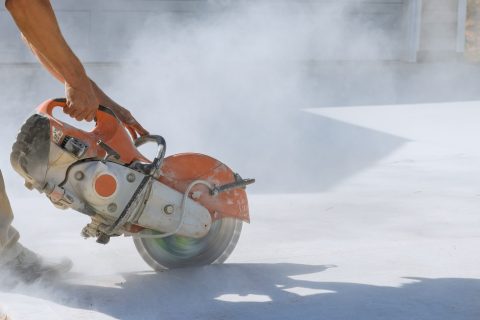
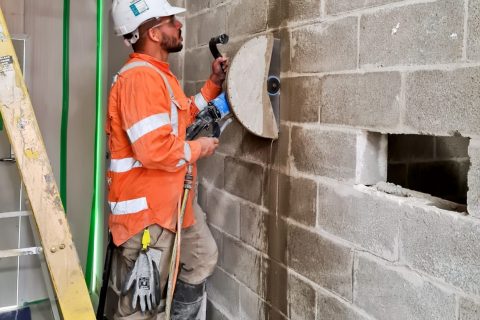
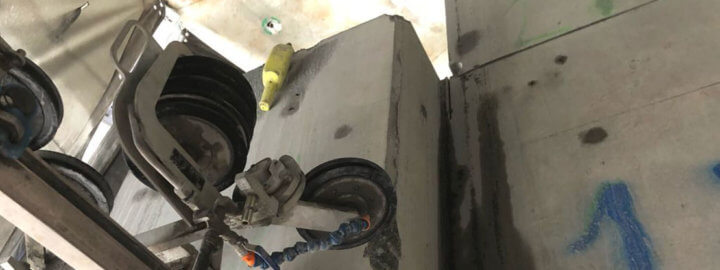
Coring
The method of coring on the stand is almost identical to coring freehand other than some key considerations. You are using the stand for a reason so this will effect some changes.
- Do not allow your water supply to enter the core drill. It will short circuit and destroy the machine. This is especially apparent when coring upside down.
Check the Core
In both freehand and stand-coring you will need to remove the drill and check your work throughout the operation. Failure to do so can result in catastrophic results for both the coring job and the machine itself. Remember: the forces enacted on the barrel and the drill machine are extremely high.
- Check for heat induced marks on the barrel. These will present themselves as blue discolouration.
- Ensure the barrel does show signs of cracking or loss of teeth.
- If the operation frequently stalls or is subject to major vibration then inspect the hole with the intent to remove any obstructions.
- When the slurry changes colour then you may have encountered steel reinforcement or other buried material that is disadvantageous to a clean cut. After an inspection, if it is safe to proceed then reduce engine speed and add water until the obstacle has been ‘passed’.
- If drilling is excessively slow for the parent material, the barrel may have glazed up. Using sand or other gritty material can remove the glazing and return the drilling process to normal.
- If there is no barrel glazing yet the drill speed is excessively slow then you may have been tasked with coring high MPA concrete. Reduce engine speed and add water.
In short – err on the side of safety and check before proceeding.
Coring Drilling Tips
Due to its nature and the stable of poor outcomes, core drilling is a mentally taxing process. We’ve compounded a list of tips to help you along.
- As water is used for both lubrication and cooling, always turn on the water supply before you begin.
- Slurry is not just a waste by-product of coring. Its abrasive nature helps make the cut. Retain the slurry by not flooding the hole with water.
- If using a wet-vac to control slurry, ensure it does not overfill and shut itself down.
- A smear of grease on your drill spine threads will prevent difficult core barrel removal.
- Periodically remove pressure on the cutting surface. This allows cooling of the cutting teeth as well as load on the drill motor.
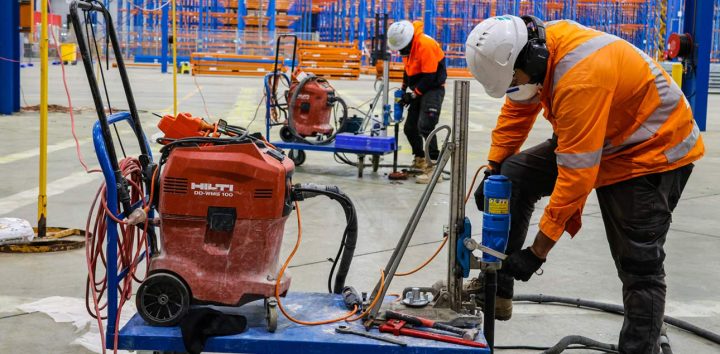
Core Drill Speeds
As previously mentioned, larger cores require larger barrels, which means more friction which means more resistance. The way to ensure machine longevity and damage reduction is with a lower engine speed. Smaller barrels have less resistance, therefore allowing higher engine speeds.
Barrel Diameter
8 – 29mm
30 – 45mm
45 – 65mm
66 – 89mm
90 – 125mm
126 – 200mm
201 – 400mm
Drill Speed
3000 rpm
1500 rpm
1200 rpm
900 rpm
600 rpm
450 rpm
300 rpm
In Conclusion
With any luck you should feel more comfortable core drilling in slabs and brickwork. For further information please contact Rodrigo Pera at Perfect Concrete Care on 02 7202 2724.
We Get It Done.